This tutorial explains how to use NRStretch to apply an oversized hood logo that will stretch over onto the nose and fenders. There are many ways to use the program and hopefully, this will give a basic understanding of how to use it.
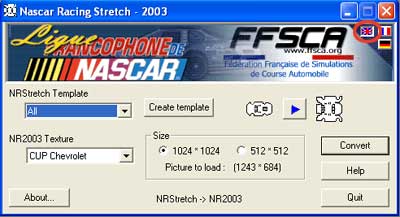
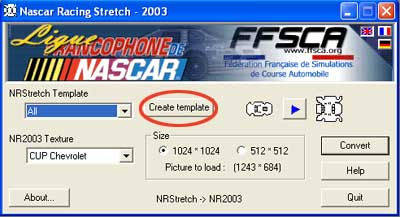
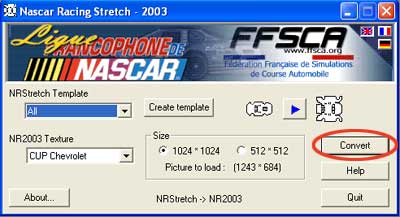
1. Click the British flag in the upper right
corner for English.
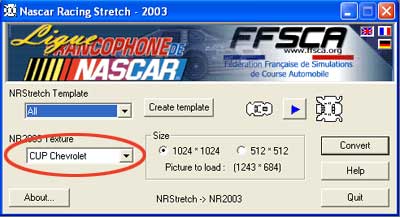
2. Choose the make you want under NR2003
texture.
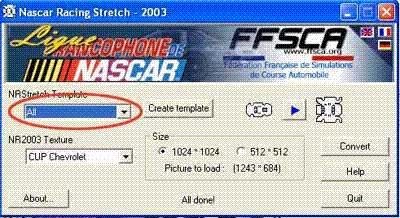
3. Choose 'All' or the specific area you want to
work with. I'm using 'All' for this example.
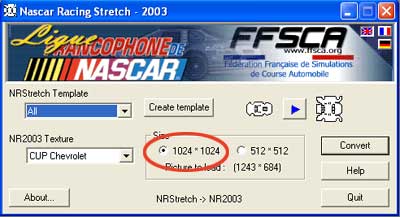
4. Choose the size of template you are
using.
5. Click on 'Create Template and save the
.tga with whatever name and location you want.
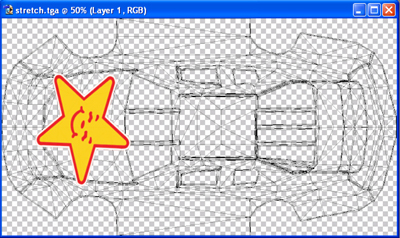
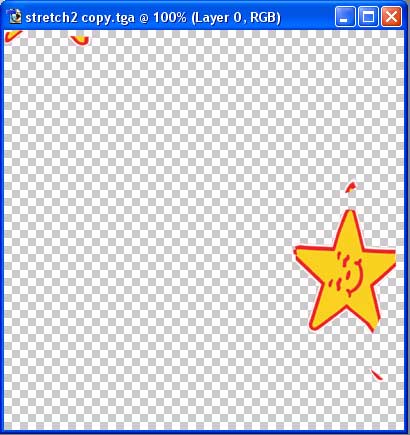
6. Open that tga in your paint program and place
your logo, layer, etc. on the car where you want it.
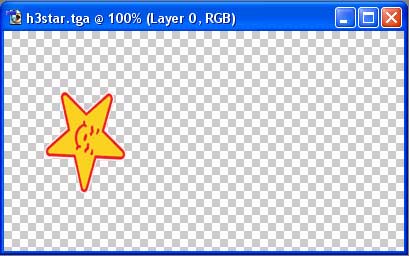
7. Turn off layer 0 (the wireframe layer) and save
the file as a tga.
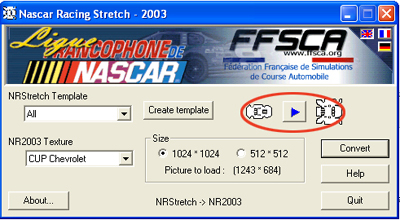
8. In Stretch, make sure the square button with the
arrow in it is pointing to the right.
9. Click on 'Convert', locate the tga you saved in
step 7 and double-click it. Stretch will then automatically convert the tga
into a layer you will use on your regular template. Save the converted tga with
whatever name and location you want.
10. Open that tga in your painting program and add
it to your template. That's it!
NOTE: This tutorial is for Photoshop users (version 7.01 or higher). If you're having trouble with background transparency, make sure that you save your targas with the '32 bits/pixel' setting. For PSP users that are having the same problem, try creating the template as a bitmap (step 5), save it as a bitmap in PSP (step 7), then Stretch will convert the bitmap into a targa (step 8). Hope this helps.